 Start with a ball of clay.
 Flatten it out into a "pancake." I tell my students to use the side of their fist. Yes, it's loud for a while, but it saves me time from having to roll them out myself and the cost of rolling pins. I tell them to stop flattening it as soon as they can fit there hand into the pancake.
 Trace the hand with a paperclip.
 Then use the paper clip to cut all the way through the traced hand, and remove the excess.
 Use the excess clay to roll out a marble-sized ball and flatten it out.
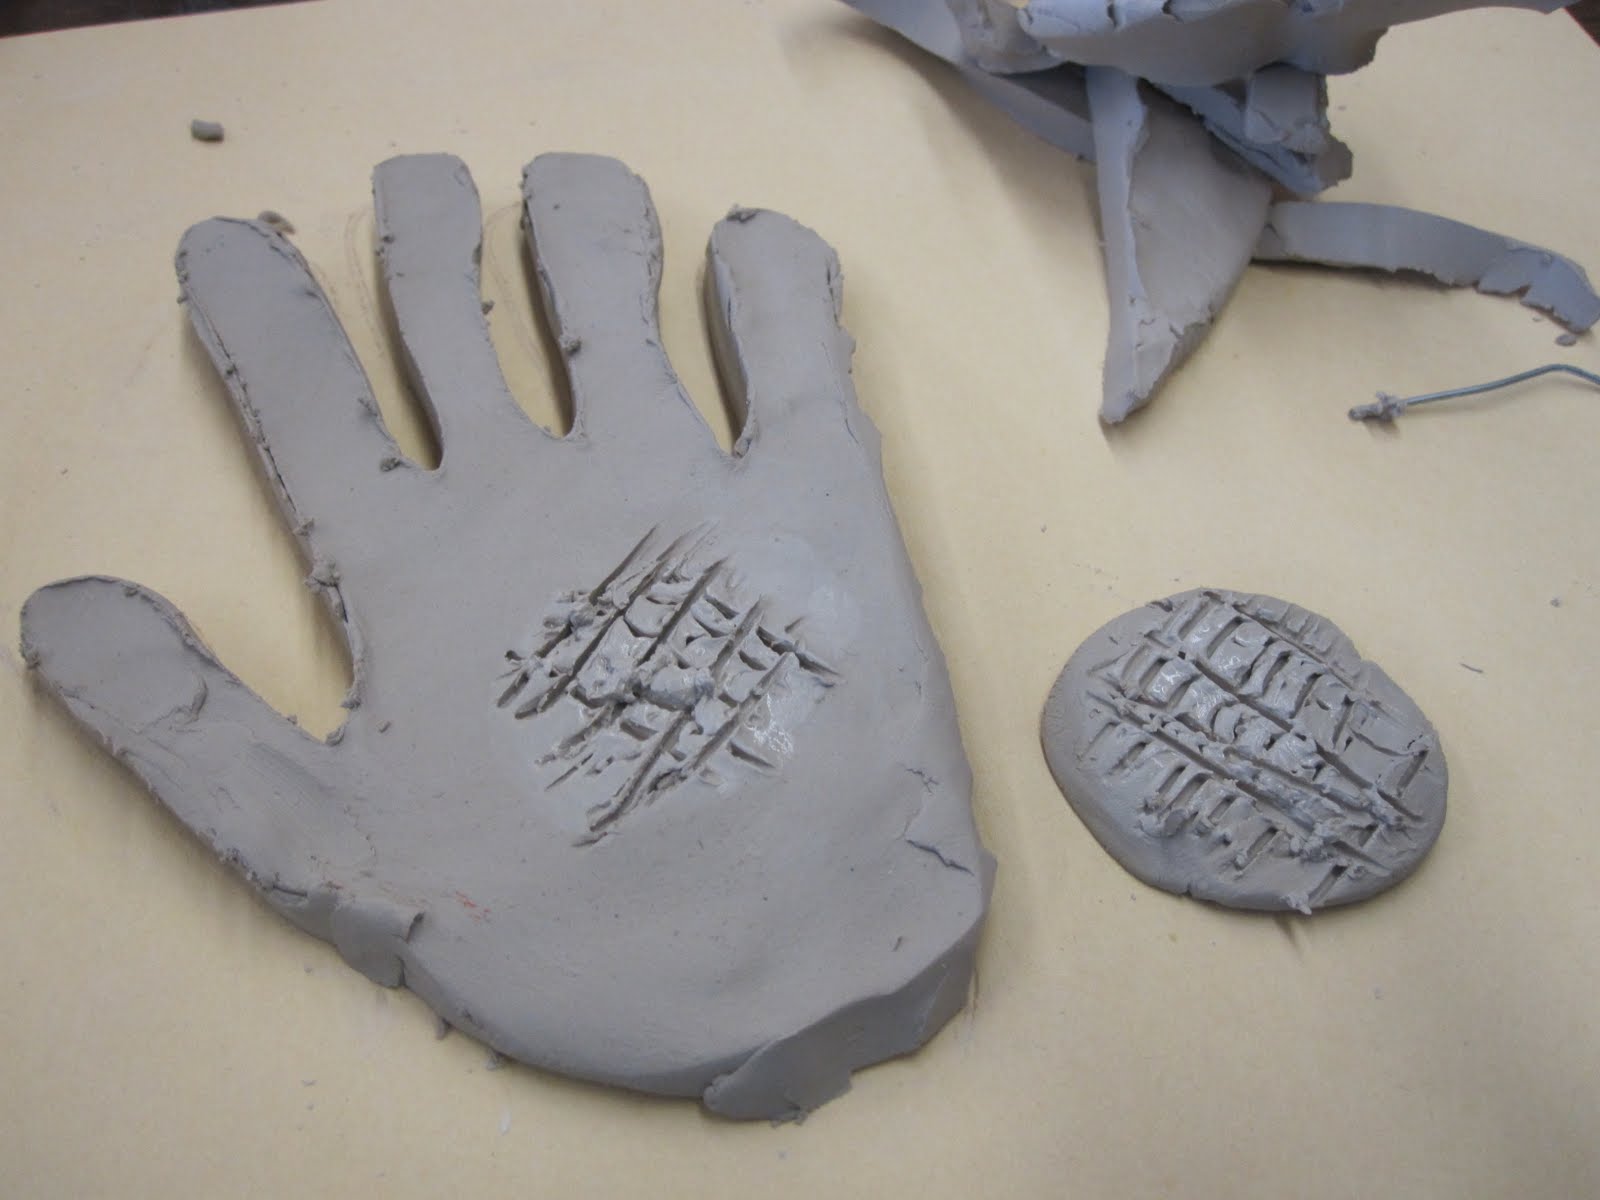 Score and slip the circle into the middle of the hand. Instead of "score and slip," I tell them to "wet, scratch, wet." They scratch a "checkerboard" into both surfaces to be stuck together, wet them a little bit with water, then scratch again. I insist that they are sure not to skip this step, or the pieces will fall apart once the clay dry. Sure enough, I've already lost a foot on one of the projects... Add feet using two smaller marbles of clay and same procedure as face.
 Add toes, eyes, beak, and snood (what kid won't get a kick out of that word?!).
 Since the finished project is flat, I also like to add holes at the top so it could be hung.
For my general tips for doing a clay project with a class, see Clay Pumpkins.
Enjoy!
No comments:
Post a Comment